

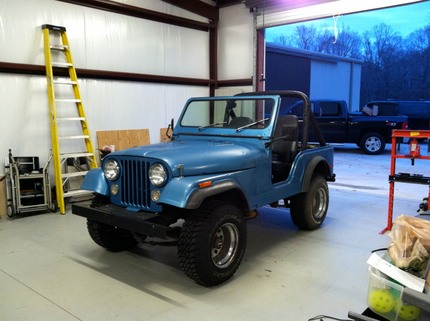
The Tear Down!
At first galnce it looked like it was in perty good shape. The breaks were shot but the engine ran great.
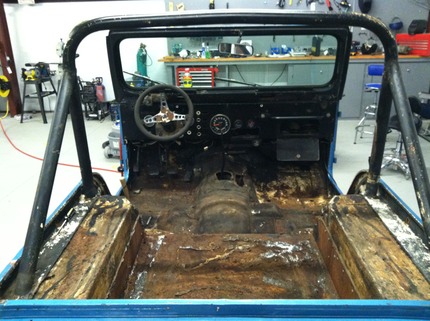
The first thing I did was take out the seats and rip out all the carpet to get a closer look at was underneath. I wasn't happy. When I bought it there wasn't a top on it and from the looks of the interior it hadn't had one for a while. There was nothing but rust. There was also evidence that more than one effort had been made to repair rust damage over the years. I know right then that the restoration of this 1978 jeep cj5 wasn't going to be easy. The list of parts i would need was growing.
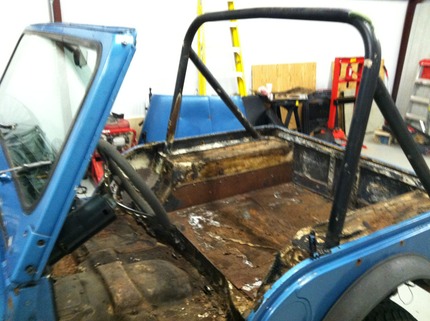
After taking a closer look the body, mostly the tub, I realized that it was held together with bondo and rust. The hood and fenders were ok but the rest of the body was a rust bucket. It was at this point where I had to decide weather or not this ulgy jeep was truly going to be something to go knocking around in the woods with or something else entirely. I decided to keep tearing it down to find out what else might need to be fixed or replaced before making that decision.
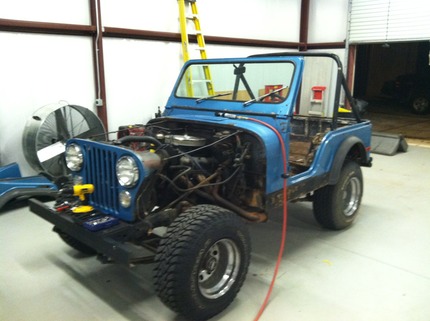

I pulled off the fenders hood and windshield. Things were looking perry good. I pulled it out side and used an engine hoist to remove the tub. It was really much easer than I though it would be. These old jeeps are really easy to work on.
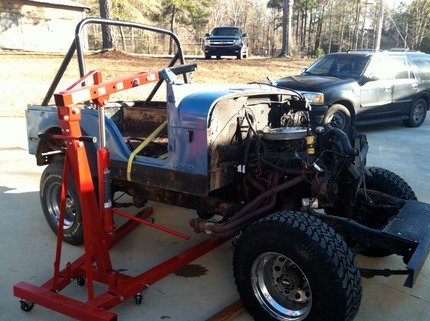
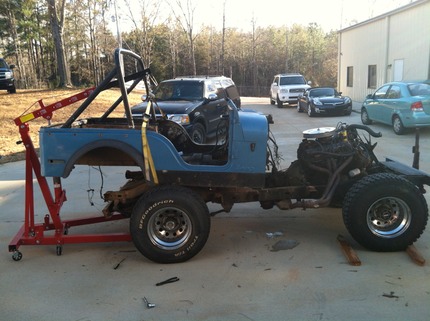
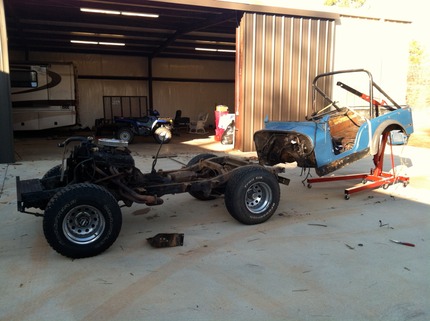
Now that the body is off I got a closer look at the 35 years of rust and abuse this ugly jeep had endured. I decided to take it all the way down to a bear frame.
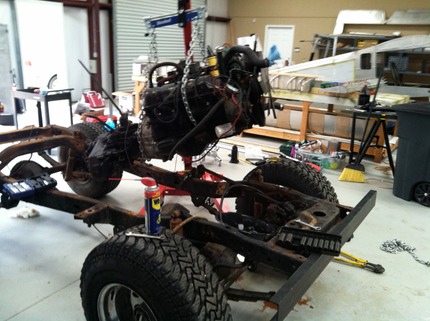
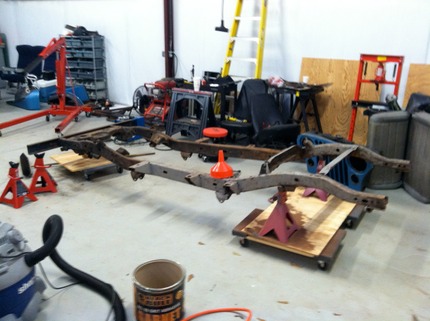
I removed the engine, axels, brake lines, fuel lines, fuel tank, and finely I had a bear frame. With everything out of the way the poor condition of the frame was obvious. It was 4 inches out of alinement, bent, twisted and filled with hair line cracks. This jeep's frame was trashed. I searched online and slavage yards for a used one but there aren't many 35 year old jeep cj5 frames just laying around. I found a company called Throttle Down Kustoms that makes new ones for just about any of the older jeeps. It wasn't cheap but they make a great frame. The frame I bought is much stronger than the original frame. The welds looked so great that Its a shame that no one will seem them once its all put together. When it arrived it was bare metal. I had it powder coated by a local shop for $250.00 dollars.
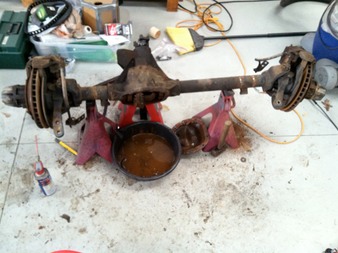
The Axle's
The axle's were ok but there were some worn parts that needed to be replaced.
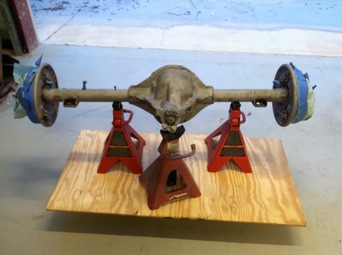
The rear axle is an AMC 20. It was Really easy to work on. Here it is sand blasted and ready for paint.
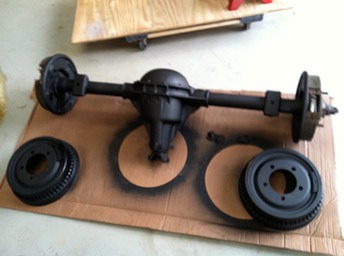
Repaired, painted and ready for install. This AMC 20 rearend was an easy rebuild.
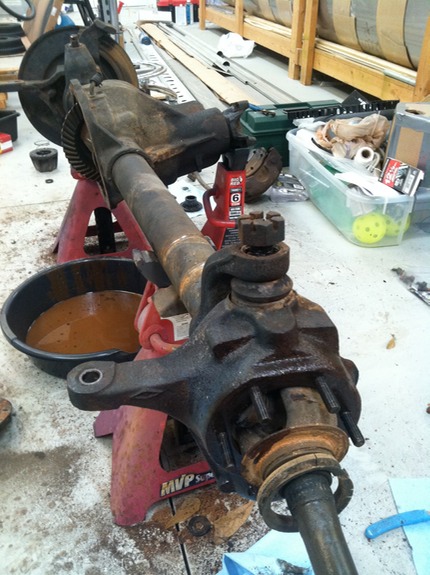
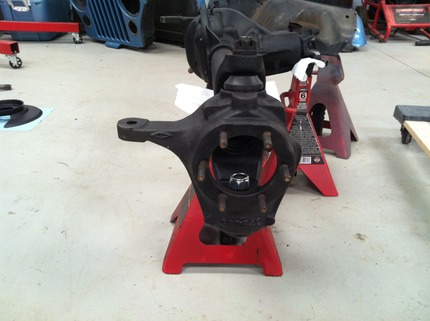
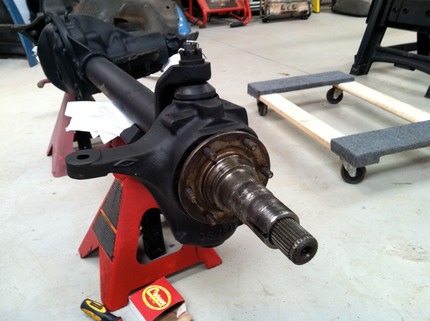
The front Axle rebuild was a different story. I didn't realize how completed they are. I replaced all the bearings, seals, disc breaks, ball joints and everything else. This took a lot longer than I thought it would.
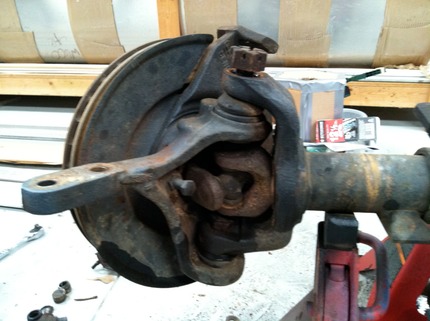
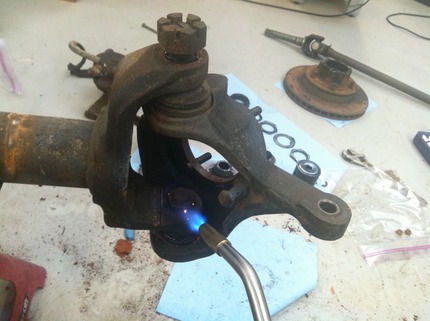
These 35 year old bolts didn't want to move. Apply a little heat and they came right off. This is going to take a while.
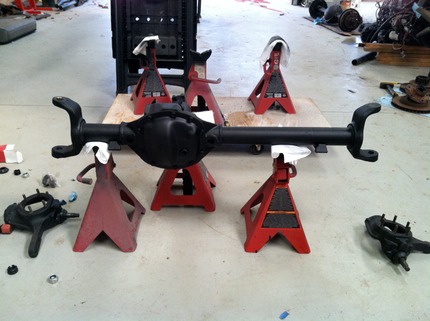
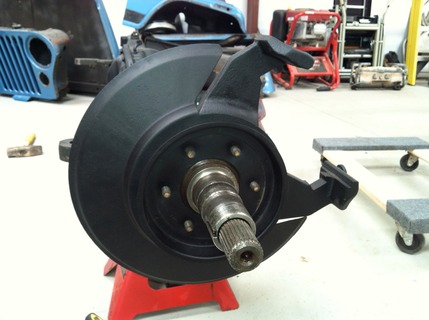
Here it is painted and ready for reassemble.
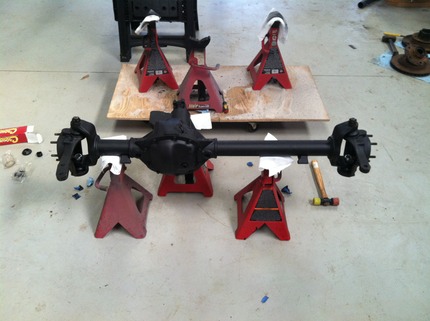
The Axle's are put back in.
All these parts were sandblasted and painted.
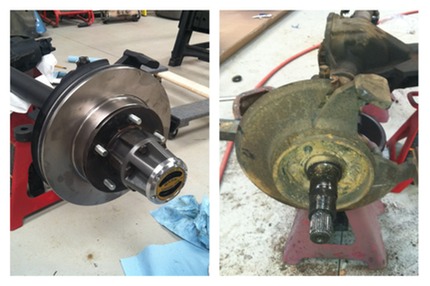
Here is a before and after pictures of the front axle. This took me most of a week to do it right.
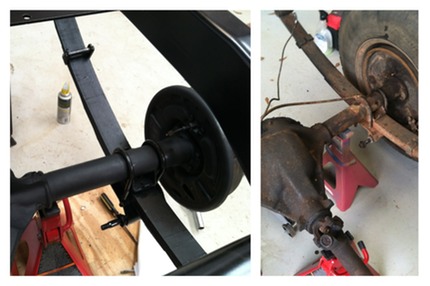
Rear Axle. Their was a lot of dirt and rust to remove to make it look new again. I started out trying to keep track of the hours i was putting in but I lost track. At this point I really don't want to know. The truth is I really enjoy working on it. That make the time fly by.
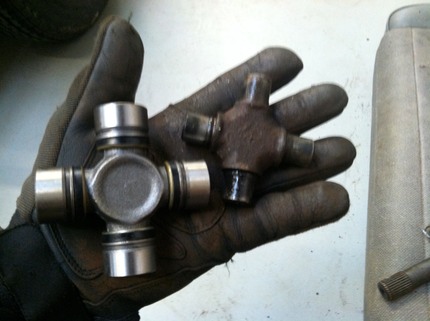
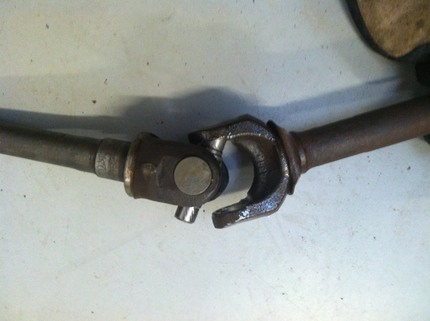
Universal Joints replacement
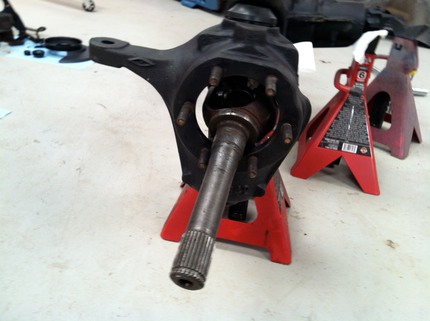
Front end axle U joint rebuild. The hard part was taking the old ones out. The new ones went in really easy.

The new and the old (stock)! The new one is a heavy duty. At first it didn't look like it was going to fit but it fit perfect. These are the axle for the front end.
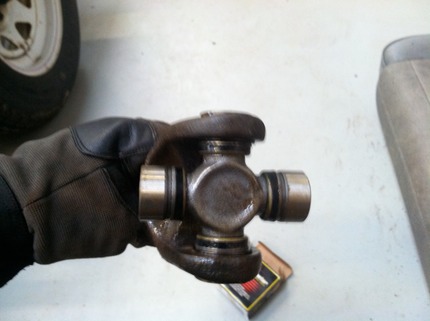
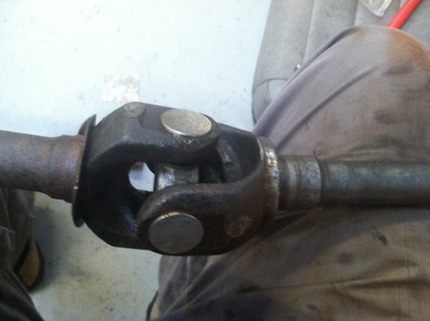
It went togethere really easy.
Assembly
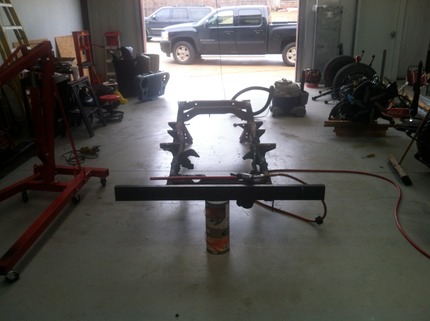
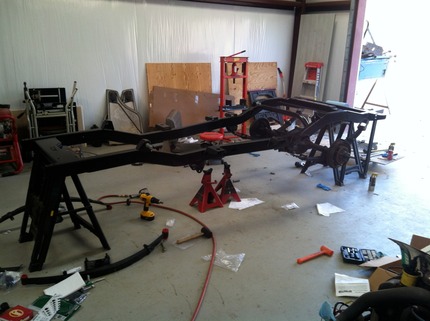
Finally after a month of tearing everything apart I'm ready to start assembly. Right now its all just a bunch of parts, soon it will start to look like a Jeep!
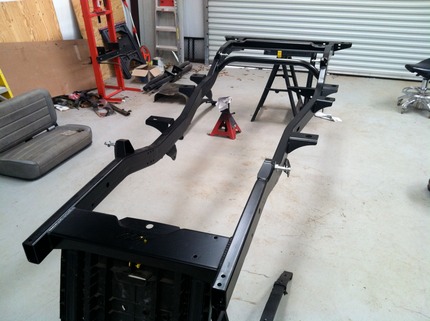
Throttle Down Kustoms frame (TDK)
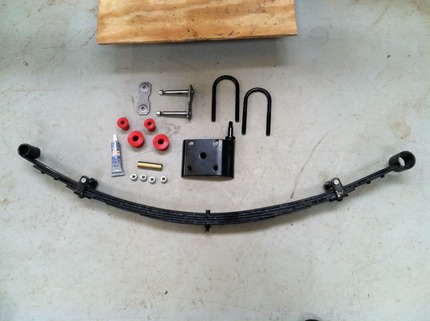
Spring assembly parts
Rear axle on!I
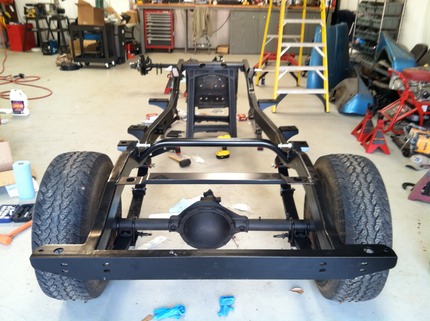
I put the old wheels back on for now. Later I'm going with new rims and wheels.
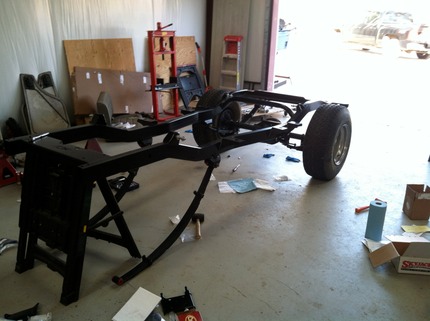
Ready for the front axle. Damn… I'm missing some bolts. I have the old ones, but at this point it just wouldn't be right putting rusted bolts on all this new stuff.